Good, safe workouts begin from the ground up. Fitness buffs and gym owners are familiar with this reality. The floor under your feet has to support daily wear, jumping, and hefty weights. Many overlook this important phase of gym building. They focus on sophisticated machines instead.
Still, consider this. Your gym flooring guards humans as well as equipment. It prevents building damage as well. Let us explore the realm of flooring for gyms. We will discuss kinds, advantages, and how to choose the ideal one for your situation.
Why Gym Flooring Matters
Gym flooring isn’t just about looks. It serves numerous critical jobs at once. First, it shields your building’s main floor. Dropping weights can damage concrete over time.
Good gym flooring takes these hits instead. Next, it keeps people safe. Rubber floors give superior grip than plain concrete. This stops slippage during sweaty workouts.
The correct flooring also cushions joints during jumps or runs. Sound control is another great benefit. Rubber and foam floors muffle the boom of weights. Your neighbors will appreciate you! This matters in apartments or shared buildings. Also, good gym flooring lasts for years.
Think about the cost over time, not just the price tag now. Cheap mats could need changing every year. Quality flooring keeps going strong.
Types of Gym Flooring
Many possibilities available for your workout environment. Each has good points and weak parts. Let’s break them down:
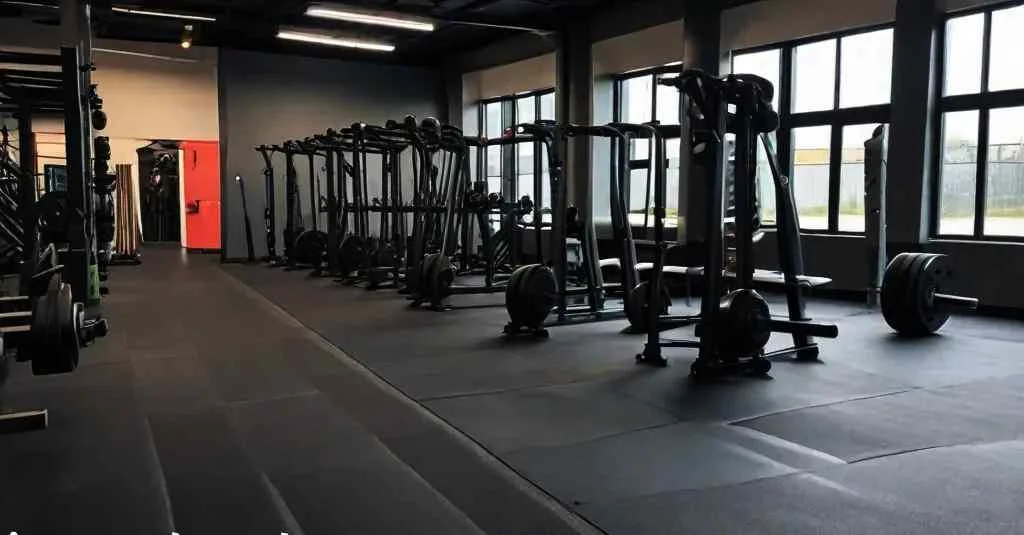
Rubber Flooring
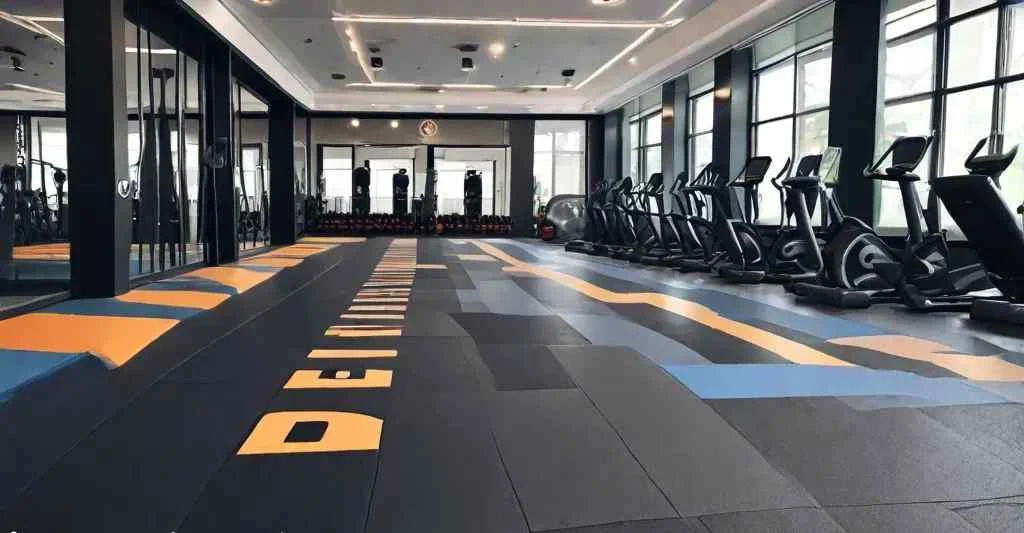
Rubber stands as the top choice for most gyms. It comes as tiles, rolls, or mats. Black rubber with color flecks is prevalent. This flooring takes big weights without injury. Rubber also delivers terrific grip. You won’t slip during quick moves. It cleans up easily too.
Just sweep and mop with light soap. The downside? Rubber can smell pungent at first. The fragrance dissipates in a few weeks. Also, rubber costs more than certain other varieties. But its extended life makes up for this.
Foam Flooring
Foam tiles attach like puzzle pieces. They come in vivid hues and cost less than rubber. Foam feels comfortable underfoot and attaches without glue. Foam works excellent for yoga or play areas. It won’t hurt if youngsters stumble on it.
But weights will dent or rip foam with time. It’s not the best for serious lifting. Also, foam soaks up sweat and can turn smelly. You’ll need to clean it often and well.
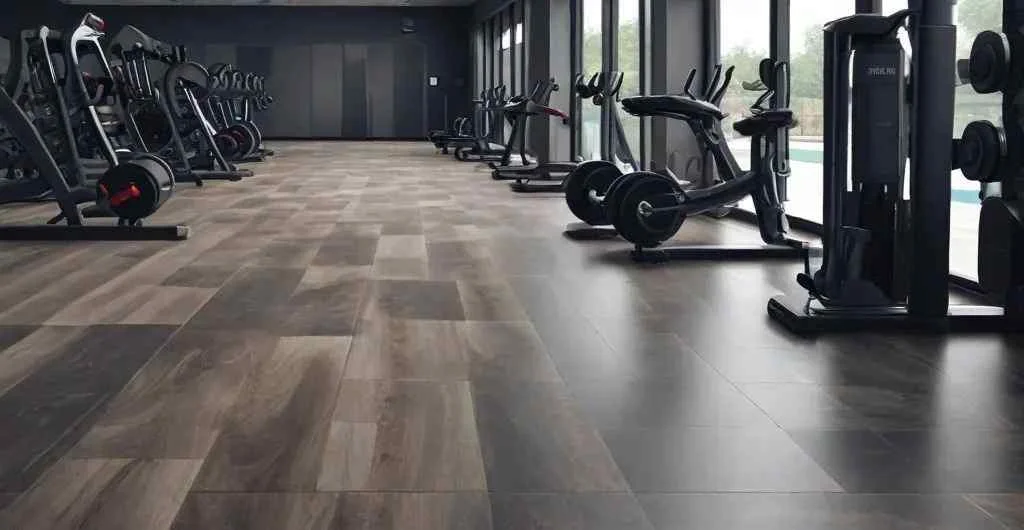
Vinyl Flooring
Vinyl looks elegant and comes in numerous styles. It’s thin but tough. Vinyl cleans easily and doesn’t smell. It works great in front desk spaces or light workout zones. However, vinyl can rip under large weights. It also doesn’t absorb sound or impact well. Think twice before utilising it in free weight regions.
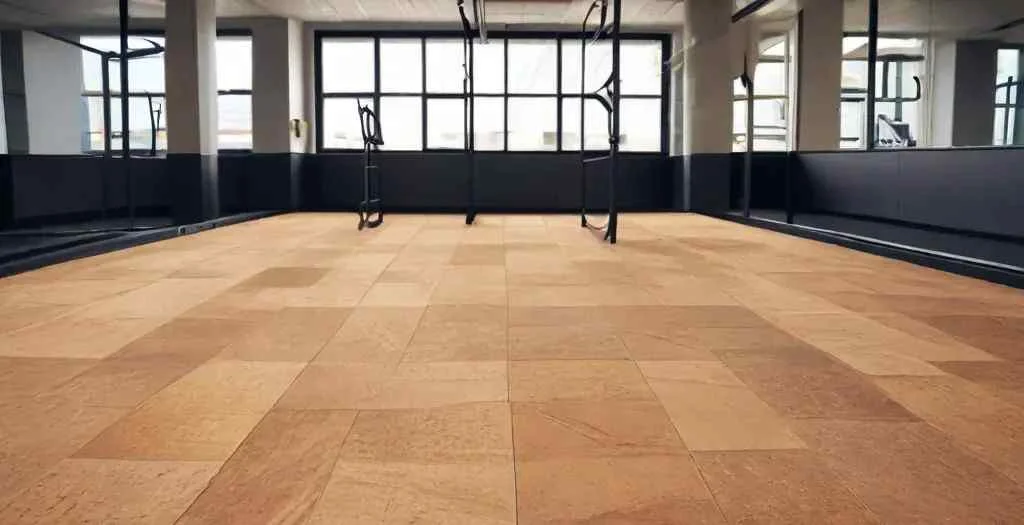
Cork Flooring
Cork gives a natural option. It feels warm and has some give. Cork absorbs sound effectively and resists mold. It also originates from sustainable sources. The drawbacks? Cork dents under heavy items. It needs sealing to resist water. Cork costs more than rubber or foam also.
Choosing the Right Thickness
Thickness counts for gym flooring. varying workouts need varying levels of cushion. Here’s a simple guide:
For high lifting areas, go with 8mm or thicker rubber. This stops barbells from injuring the floor underneath. Olympic lifting needs even more – up to 3/4 inch. Cardio zones can employ thinner mats. About 1/4 inch works for most machines. This delivers solid support without undue bounce.
Yoga or stretching spaces need medium thickness. Around 3/8 inch delivers comfort without too much sink. Remember this rule: More impact means thicker flooring. Your knees and building will thank you.
Installation Tips
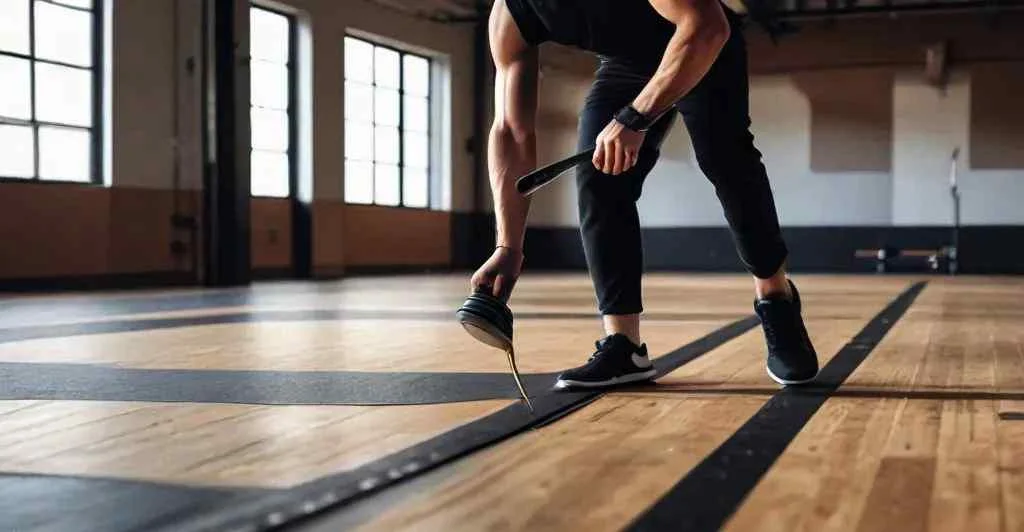
Setting up gym flooring doesn’t have to be complex. Many varieties can be a DIY task. Start with a clean, dry floor. Remove all dust and let it dry entirely. For rubber rolls, unroll them a day prior. This enables them flatten out. Use strong tape to connect seams.
Some individuals use glue, but tape works for most home gyms. Puzzle-style tiles snap together by hand. Work from one corner out. Leave a tiny gap at walls for expansion. Cut edge pieces with a sharp utility knife. Pro tip: Let your flooring settle in the room for 24 hours before installing. This helps it adjust to the room’s temperature.
Maintenance Made Simple

Keep your gym flooring looking fantastic with easy care. Sweep daily to eliminate dirt and chalk. Mop regularly with mild soap. Avoid strong chemicals that can break down the substance. For rubber, use a neutral pH cleanser. Vinegar works great too. Foam needs sensitive handling – no vigorous scrubbing. Vinyl can take most cleaners but check the label first.
Clean spills right away, especially water under matting. Trapped moisture can grow mold. Let floors dry entirely after cleaning. Every few months, check for damage. Replace broken tiles or torn pieces. This stops tiny difficulties from escalating.
Cost vs. Value
Gym flooring prices vary widely. Foam starts about $1 per square foot. Basic rubber runs $2-4 per square foot. Premium rubber or cork might reach $7 or more. But think long-term. Cheap foam might last a year in a busy gym. Quality rubber can go 10+ years.
Divide the cost by years of use to determine the true worth. Also count installation charges. Some flooring needs professional help. Others you can accomplish yourself in a weekend. Remember hidden savings too. Good flooring reduces harm to your main floor. This reduces repair expenditures down the road.
Eco-Friendly Options

Green gym flooring gains popularity. Many companies now provide eco-friendly solutions. Look for recycled rubber from old tires. This keeps garbage out of landfills. Cork grows back after harvest. No trees perish in the process.
Some companies manufacture foam from plant oils instead of petroleum. Check for hazardous substances too. Some flooring gives off VOCs (volatile organic compounds). These can induce headaches or breathing difficulties. Look for low-VOC or no-VOC products. Green choices may cost more up front. But they can be healthier for you and the world.
Conclusion
Choosing the correct gym flooring makes a significant difference. It protects your structure, keeps workouts safe, and can last for years. Think about your personal demands before buying. For most gyms, rubber flooring delivers the finest blend of durability and value. Different places can need different sorts. Heavy lifting zones demand thick, durable surfaces.
Yoga places demand additional cushion. Don’t scrimp on this vital investment. Your floor forms the foundation of every workout. With proper care, premium gym flooring will serve you well for many years. Take time to investigate choices.
Talk to other gym owners. Touch samples before buying. A little homework now saves headaches later. Your perfect gym flooring waits out there. Find it, install it, and enjoy the solid basis for fitness success!
FAQs
How long does gym flooring typically last?
Quality rubber flooring can last 10-15 years in most gyms. Foam might need replacing after 1-3 years. Vinyl and cork fall somewhere in between, lasting about 5-7 years with good care.
Will gym flooring help reduce noise?
Yes! Rubber and foam floors cut noise significantly. They absorb the sounds of dropping weights and jumping. Thicker materials block more sound. This helps keep peace with neighbors.
Can I install gym flooring myself?
Many types allow DIY installation. Interlocking tiles and smaller rubber mats work well for beginners. Large rubber rolls might need professional help. Watch online videos before starting your project.
How do I clean gym flooring?
Sweep daily and mop weekly with mild soap. Avoid harsh chemicals. For rubber, use neutral pH cleaners. Clean spills right away to prevent staining or mold growth.
What’s the best flooring for a home gym?
For most home gyms, 8mm rubber tiles work great. They protect your floor, reduce noise, and handle most equipment. If you mainly do yoga or bodyweight exercises, foam tiles offer more comfort at lower cost.
Can gym flooring go over carpet?
It’s not ideal, but you can put firm rubber mats over low-pile carpet. Foam tiles will feel too squishy. The best option is hard flooring underneath. If you must use carpet, add a plywood layer first.
What thickness do I need for deadlifts?
For deadlifts, use at least 3/4 inch (19mm) thick rubber. This protects your floor from heavy drops. For very heavy lifts, consider adding extra crash pads where weights land.